🗂 Groups
Groups are collections of users organized by roles, departments, or shared attributes.
They simplify access management, permissions control, and reporting.
To access Groups:
- Click Settings in the header.
- Navigate to Account Settings → Groups.
(The Groups tab is selected by default).
🖥️ Group Views
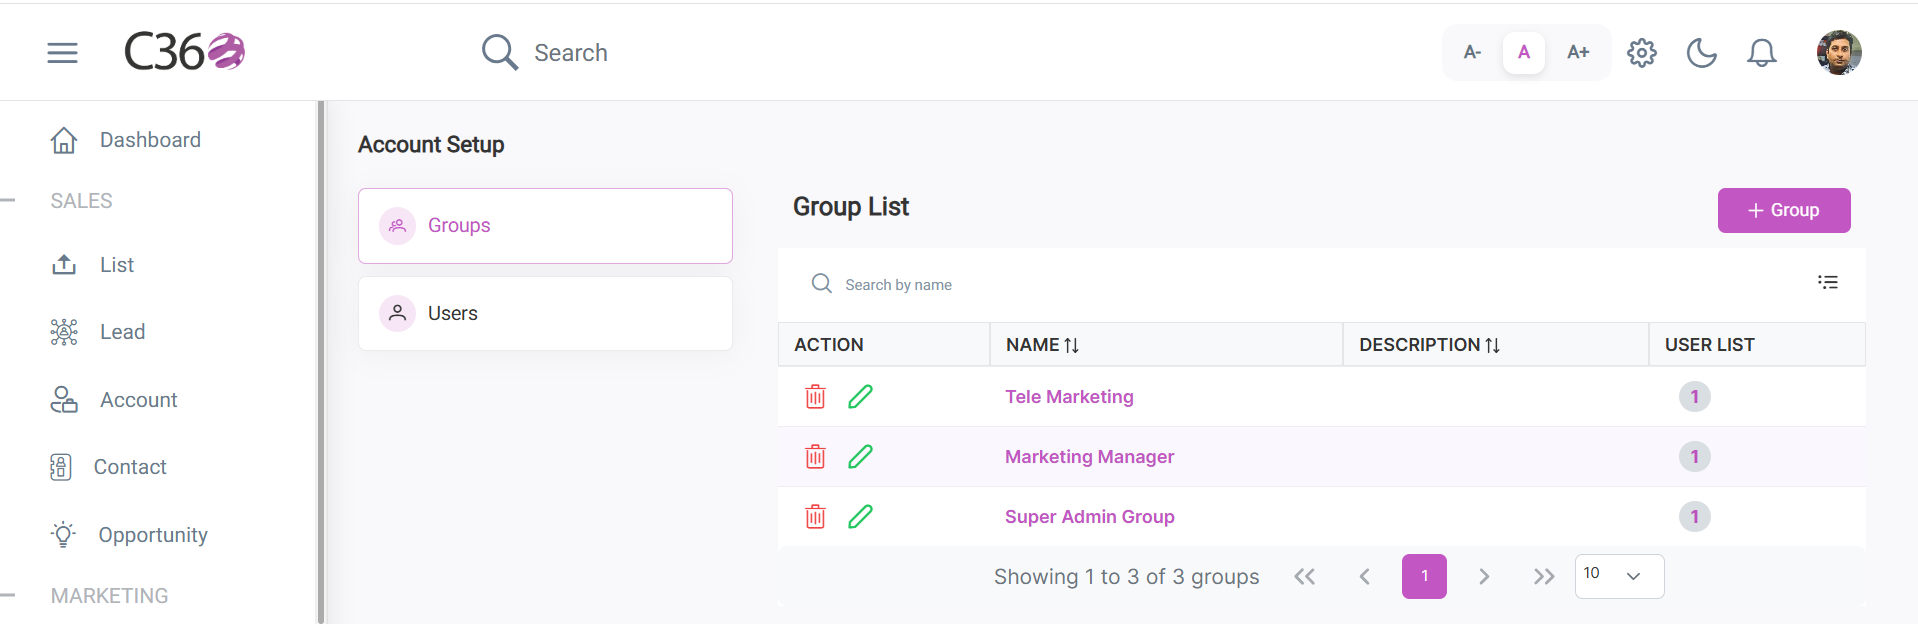
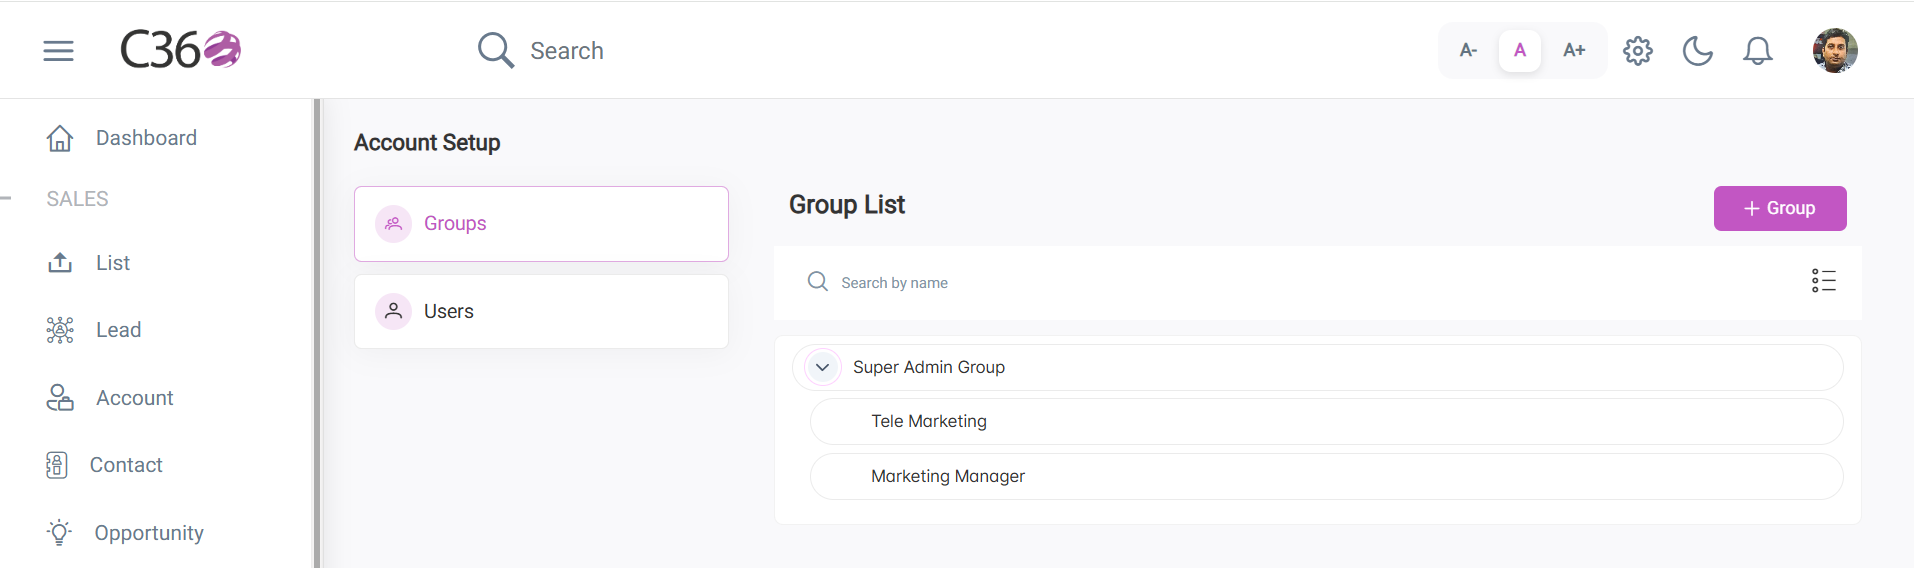
Groups can be displayed in List View or Tree View for better organization.
- 📋 List View
- 🌳 Tree View
- Columns:
- Group Name
- Description
- User Count
- Actions (Edit / Delete)
- Top Features:
- Search Bar → Quickly find groups
- Add Button → Create a new group
- Toggle Button → Switch to Tree View
- Pencil Icon → Inline Edit
- Delete Icon → Remove Group
- Displays groups in a hierarchical structure (Parent → Child).
- Edit → Click pencil icon or group name.
- Delete → Click trash icon under Actions.
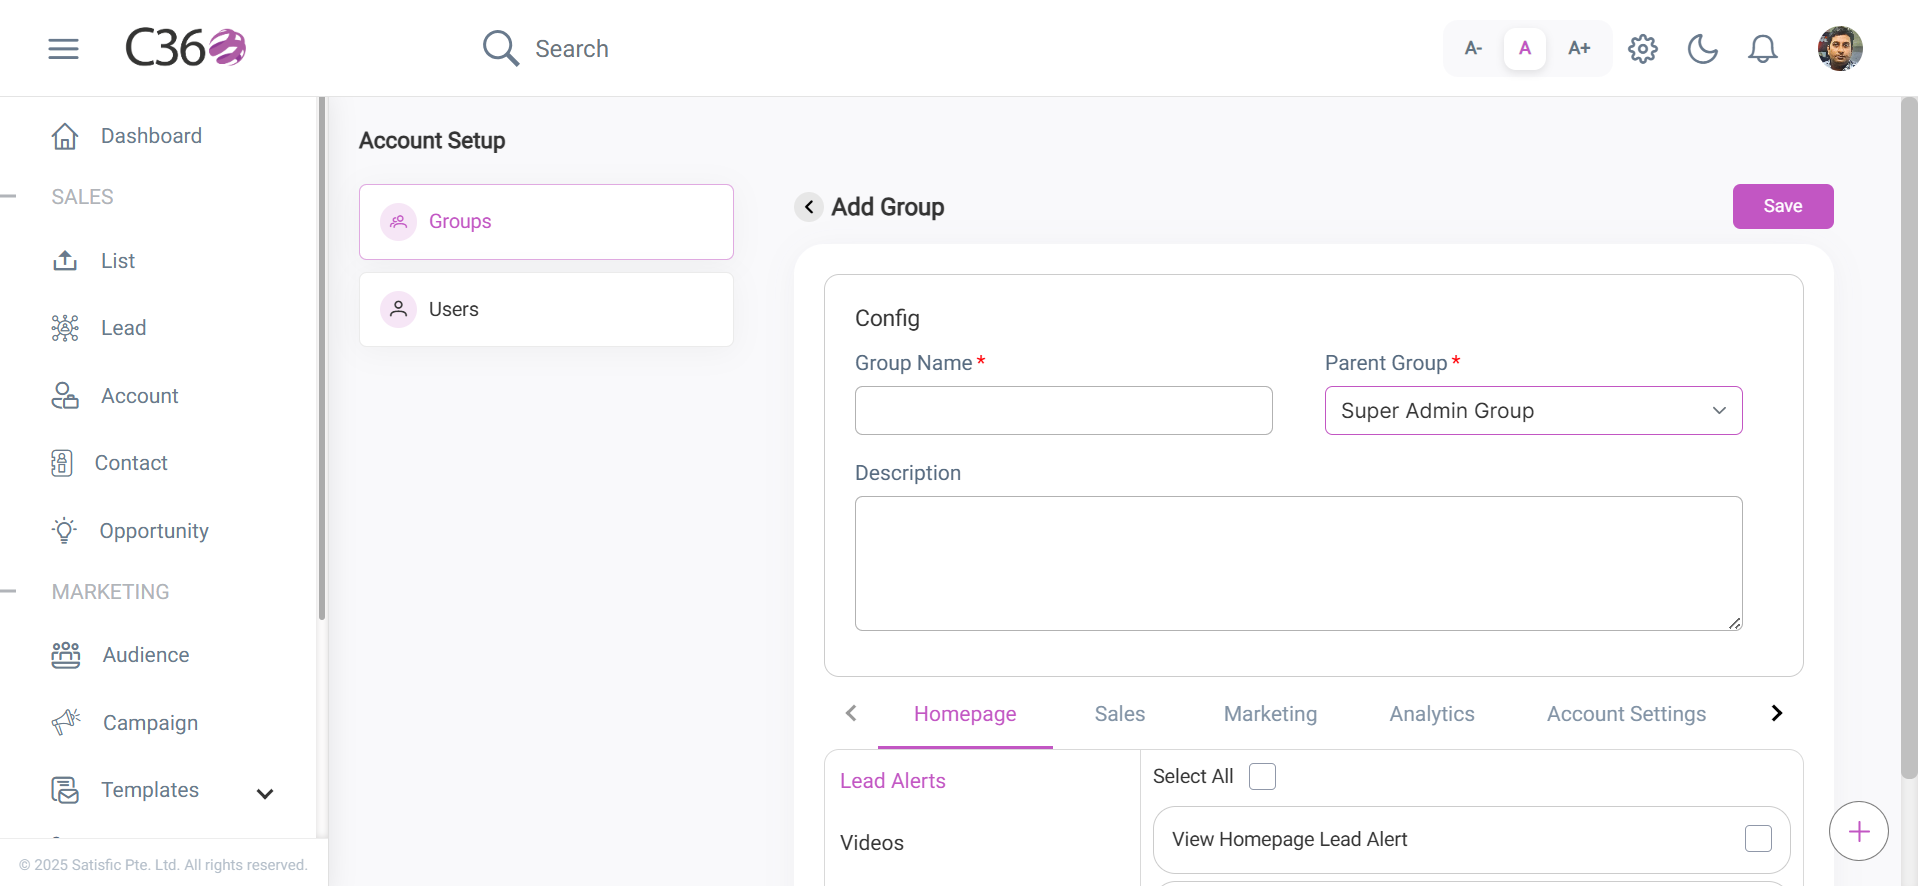
➕ Add / Edit a Group
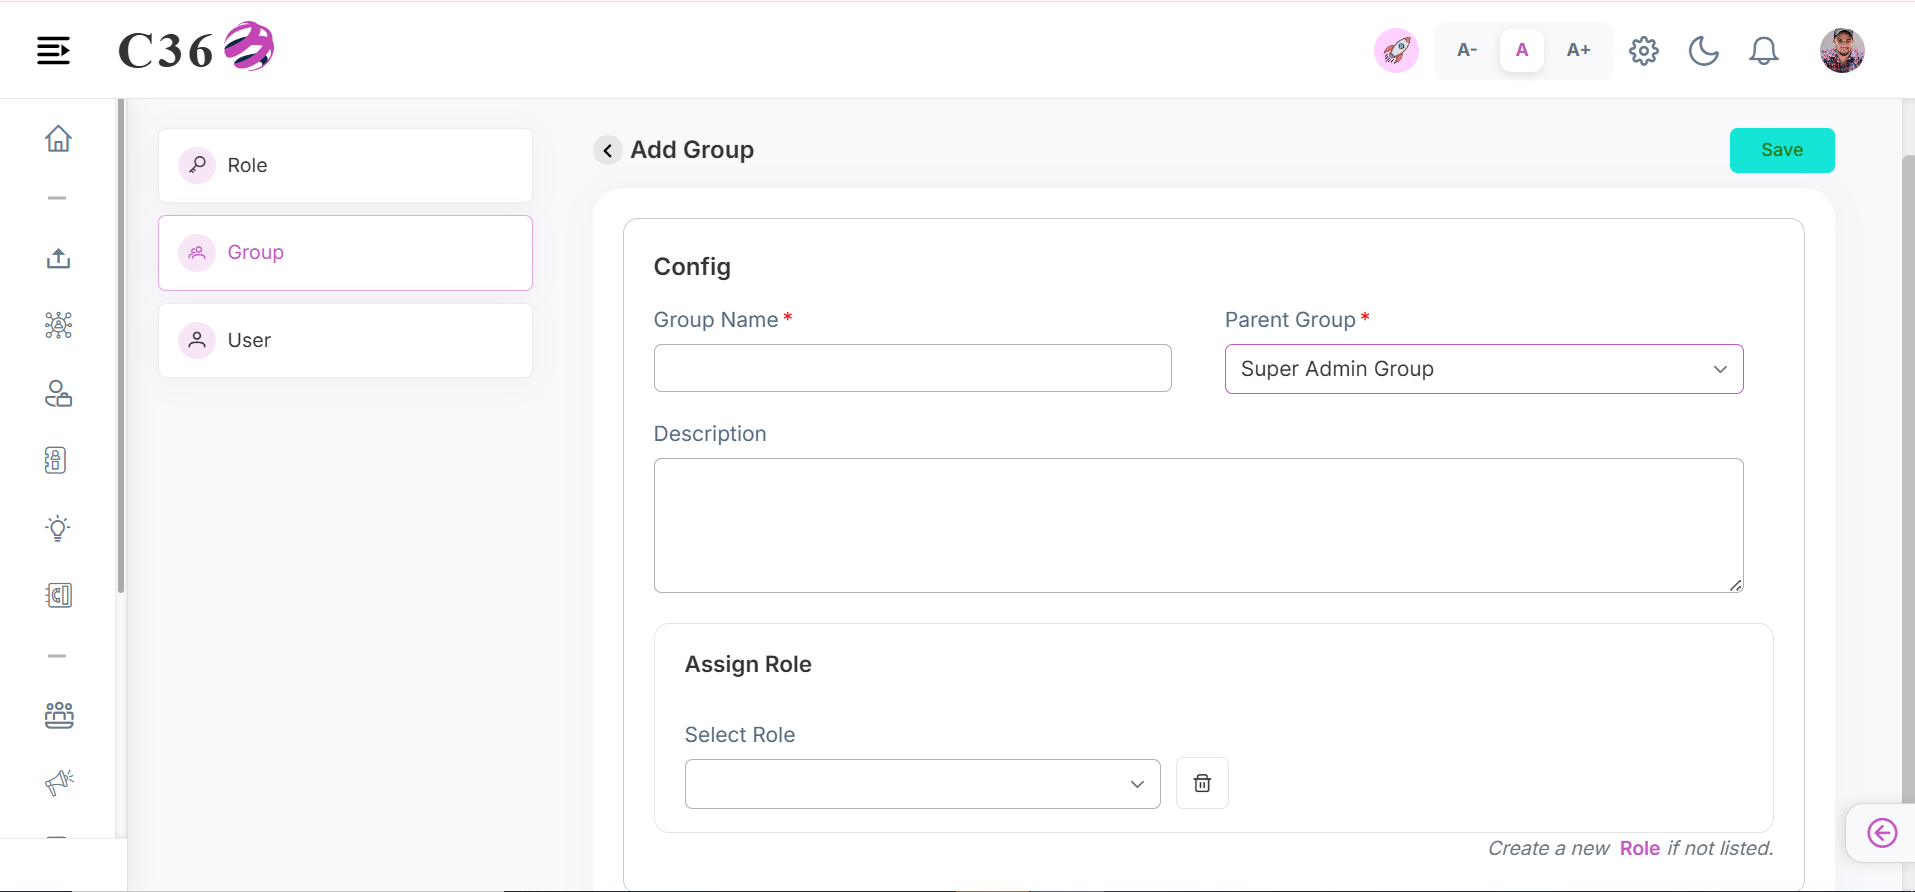
Steps to Add a Group
- Click Add Group.
- Enter the following:
- Group Name
- Description
- Provide the associated roles to the group.
- Click Save to create the group.
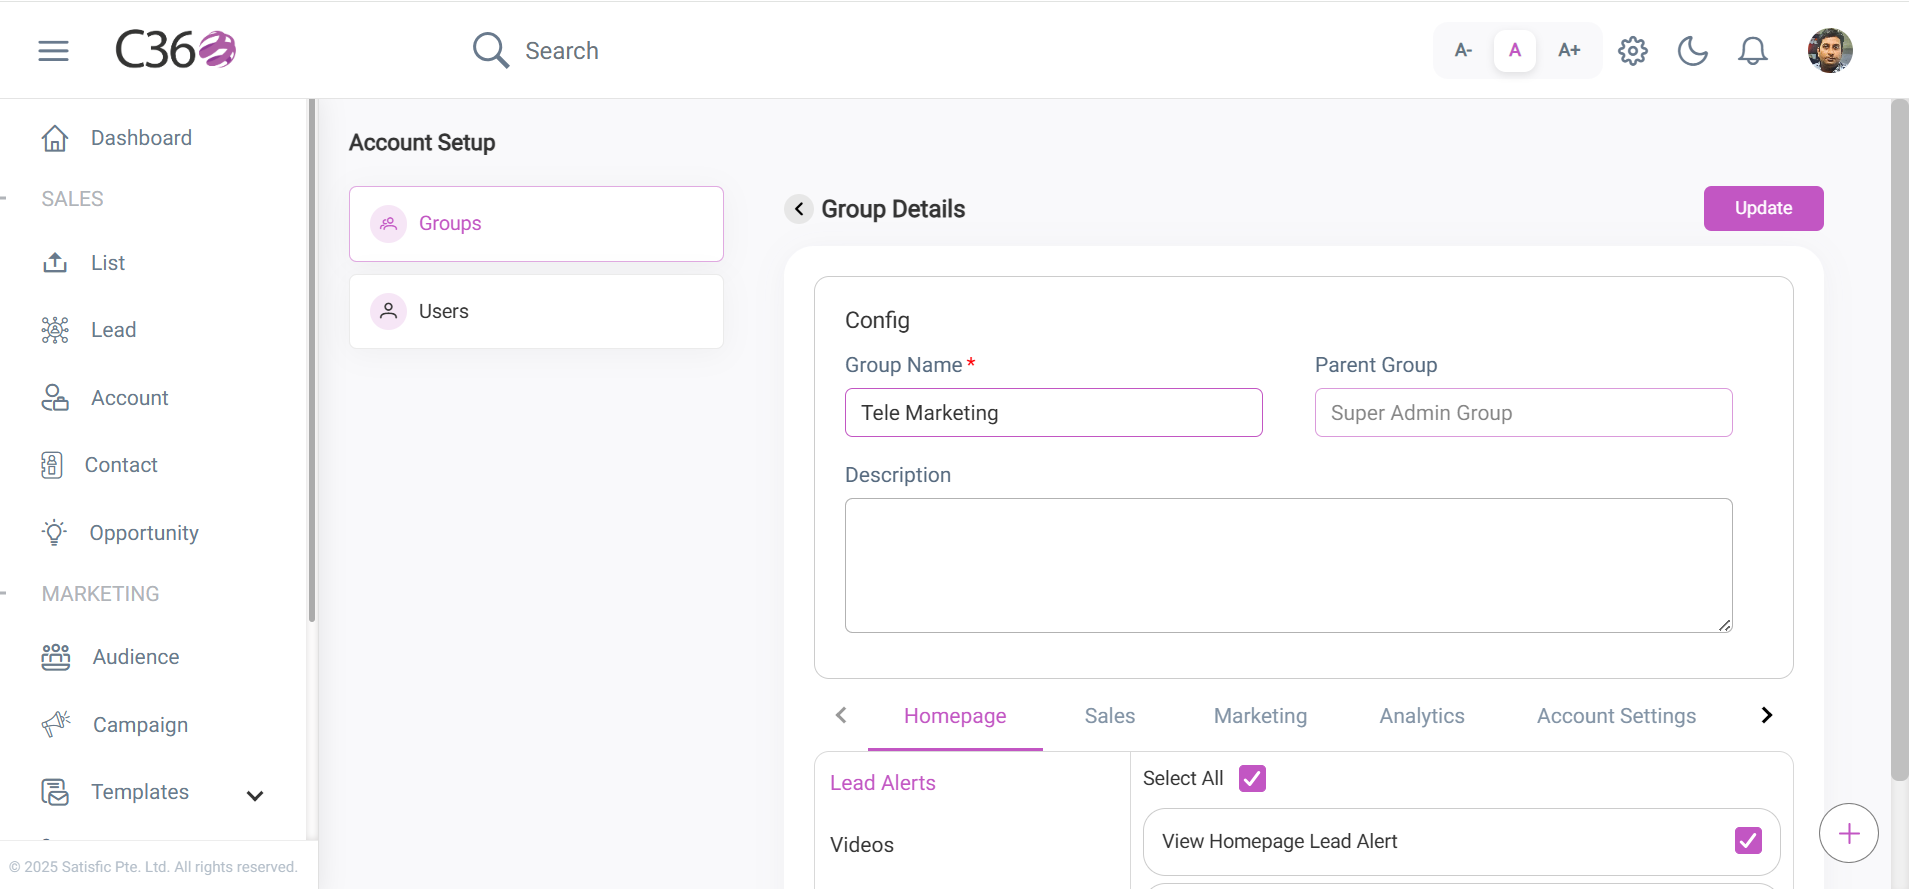
Steps to Edit a Group
- Click the pencil icon in the Actions column, or
- Click the Group Name to open and update details.
🔐 Assign a Role to a Group
Assign a predefined role to a group of users to centrally manage their access to modules, features, and data within the CRM.
- Go to the Add/Edit Group page.
- Select the role from the dropdown.
- Save / Update the group.
note
- You can add only one role to a group.
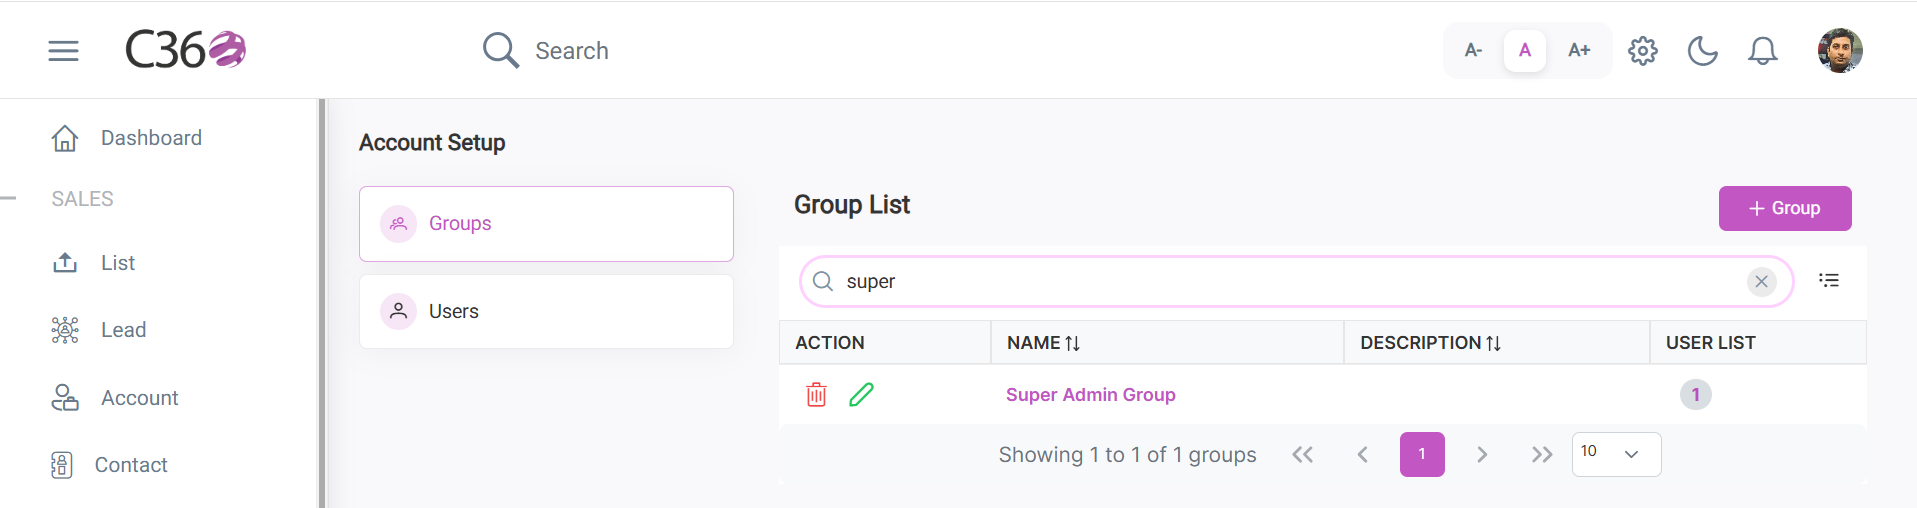
🔍 Search Groups
- Type a group name or keyword in the search bar.
- Press Enter to filter results.
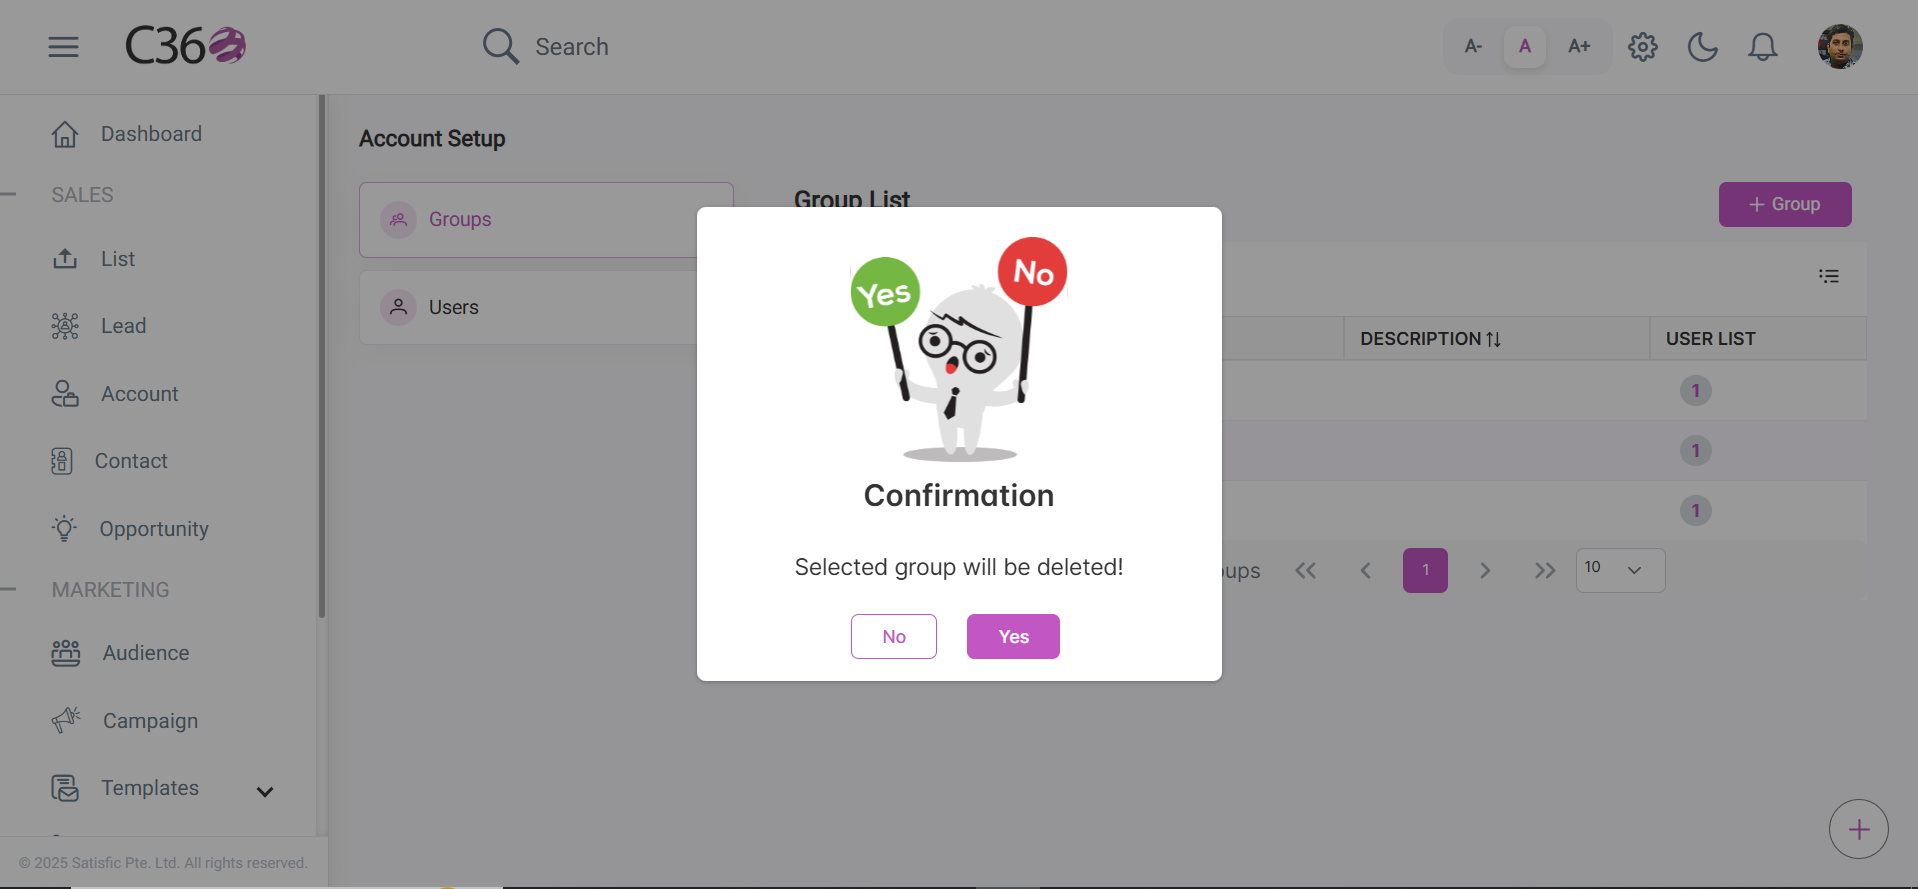
🗑️ Delete Group
- Click the Delete icon for the group you want to delete.
- Click on Yes in the confirmation pop-up if you want to delete it.
📄 View Group Details
Click a Group Name in List View or Tree View to open its details page.
Here you can review:
- User List (Name, Email, Email Verified)
- Assigned Permissions
🔄 Group Life Cycle
💡 Tips
tip
Use descriptive group names to simplify management.
warning
Deleting a group cannot be undone. Ensure users have alternate access paths before removal.